Five Pistol Drills Worth Running
04/01/2026

Most shooters have a range routine. Load up, run a few magazines, make some holes in paper, feel pretty good about it, drive home. The problem is that “feeling pretty good” is not a metric. Feelings do not tell you whether your draw is getting faster or your weak-hand shooting is still a disaster. Numbers do.
Standardized drills fix that. These are named, documented, repeatable tests with defined par times and scoring systems. Run the same drill in January and again in March and you will know, with actual data, whether you got better or just got more comfortable standing at the seven-yard line.
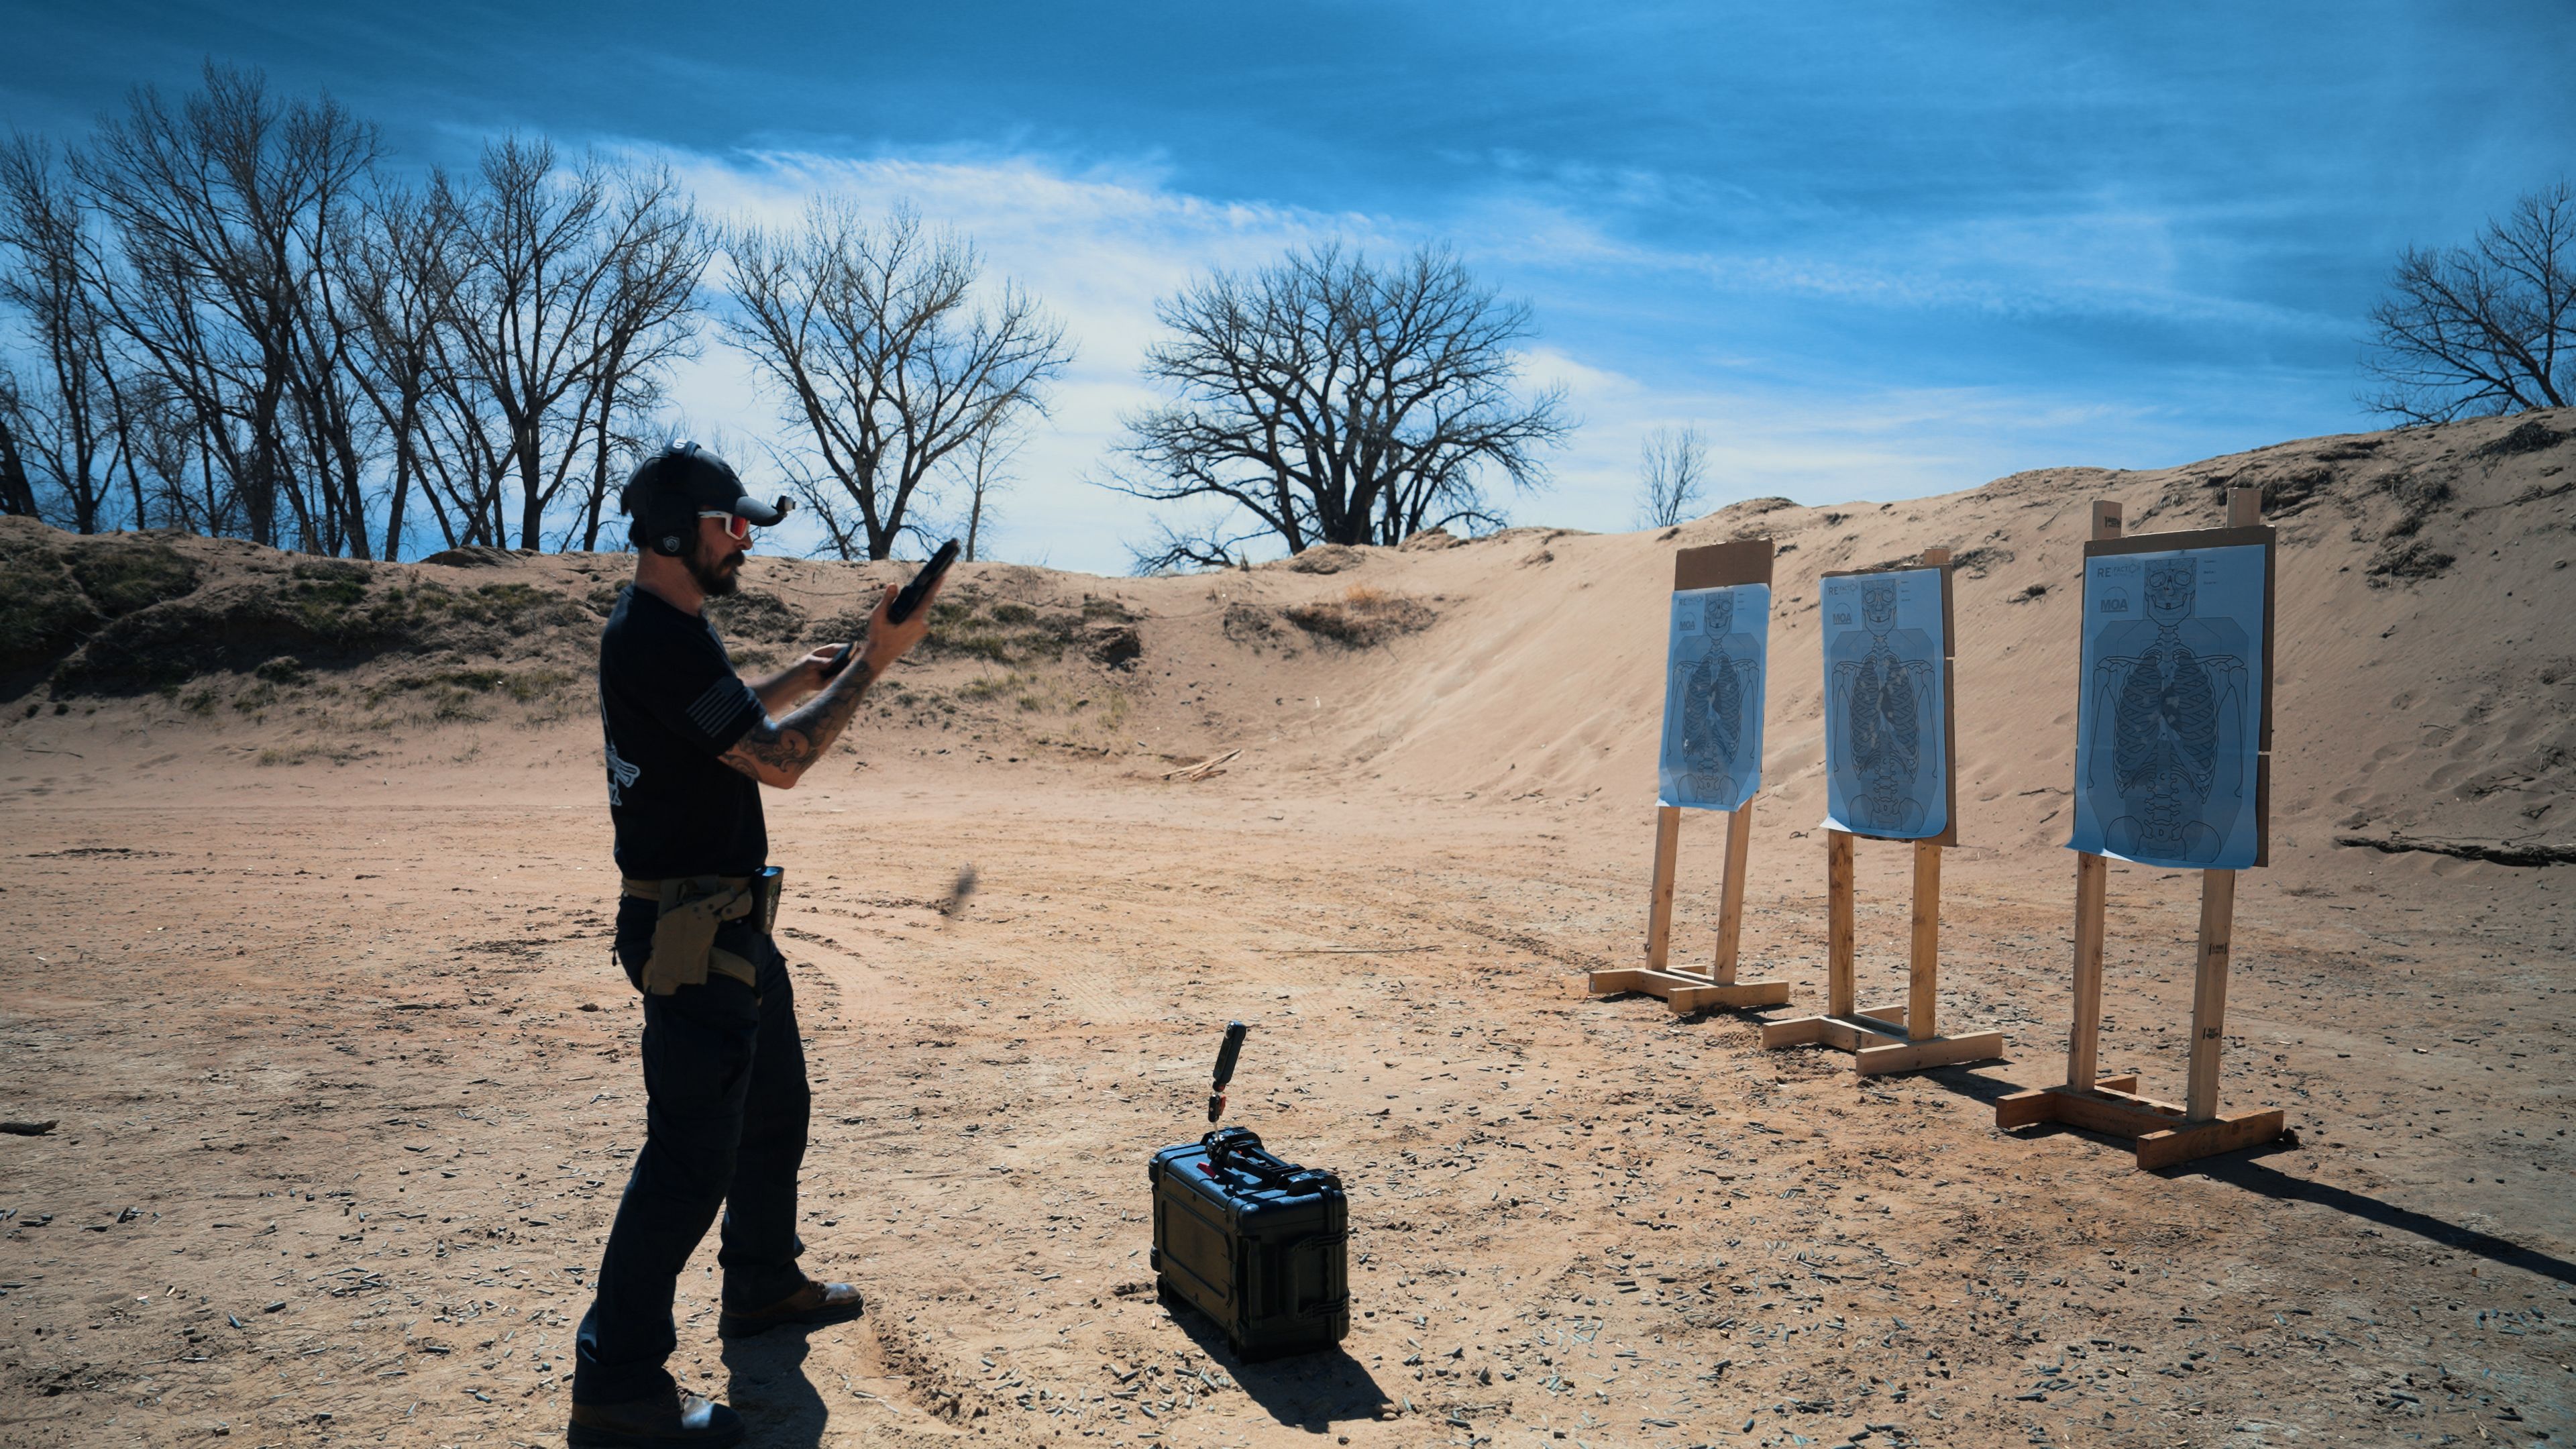
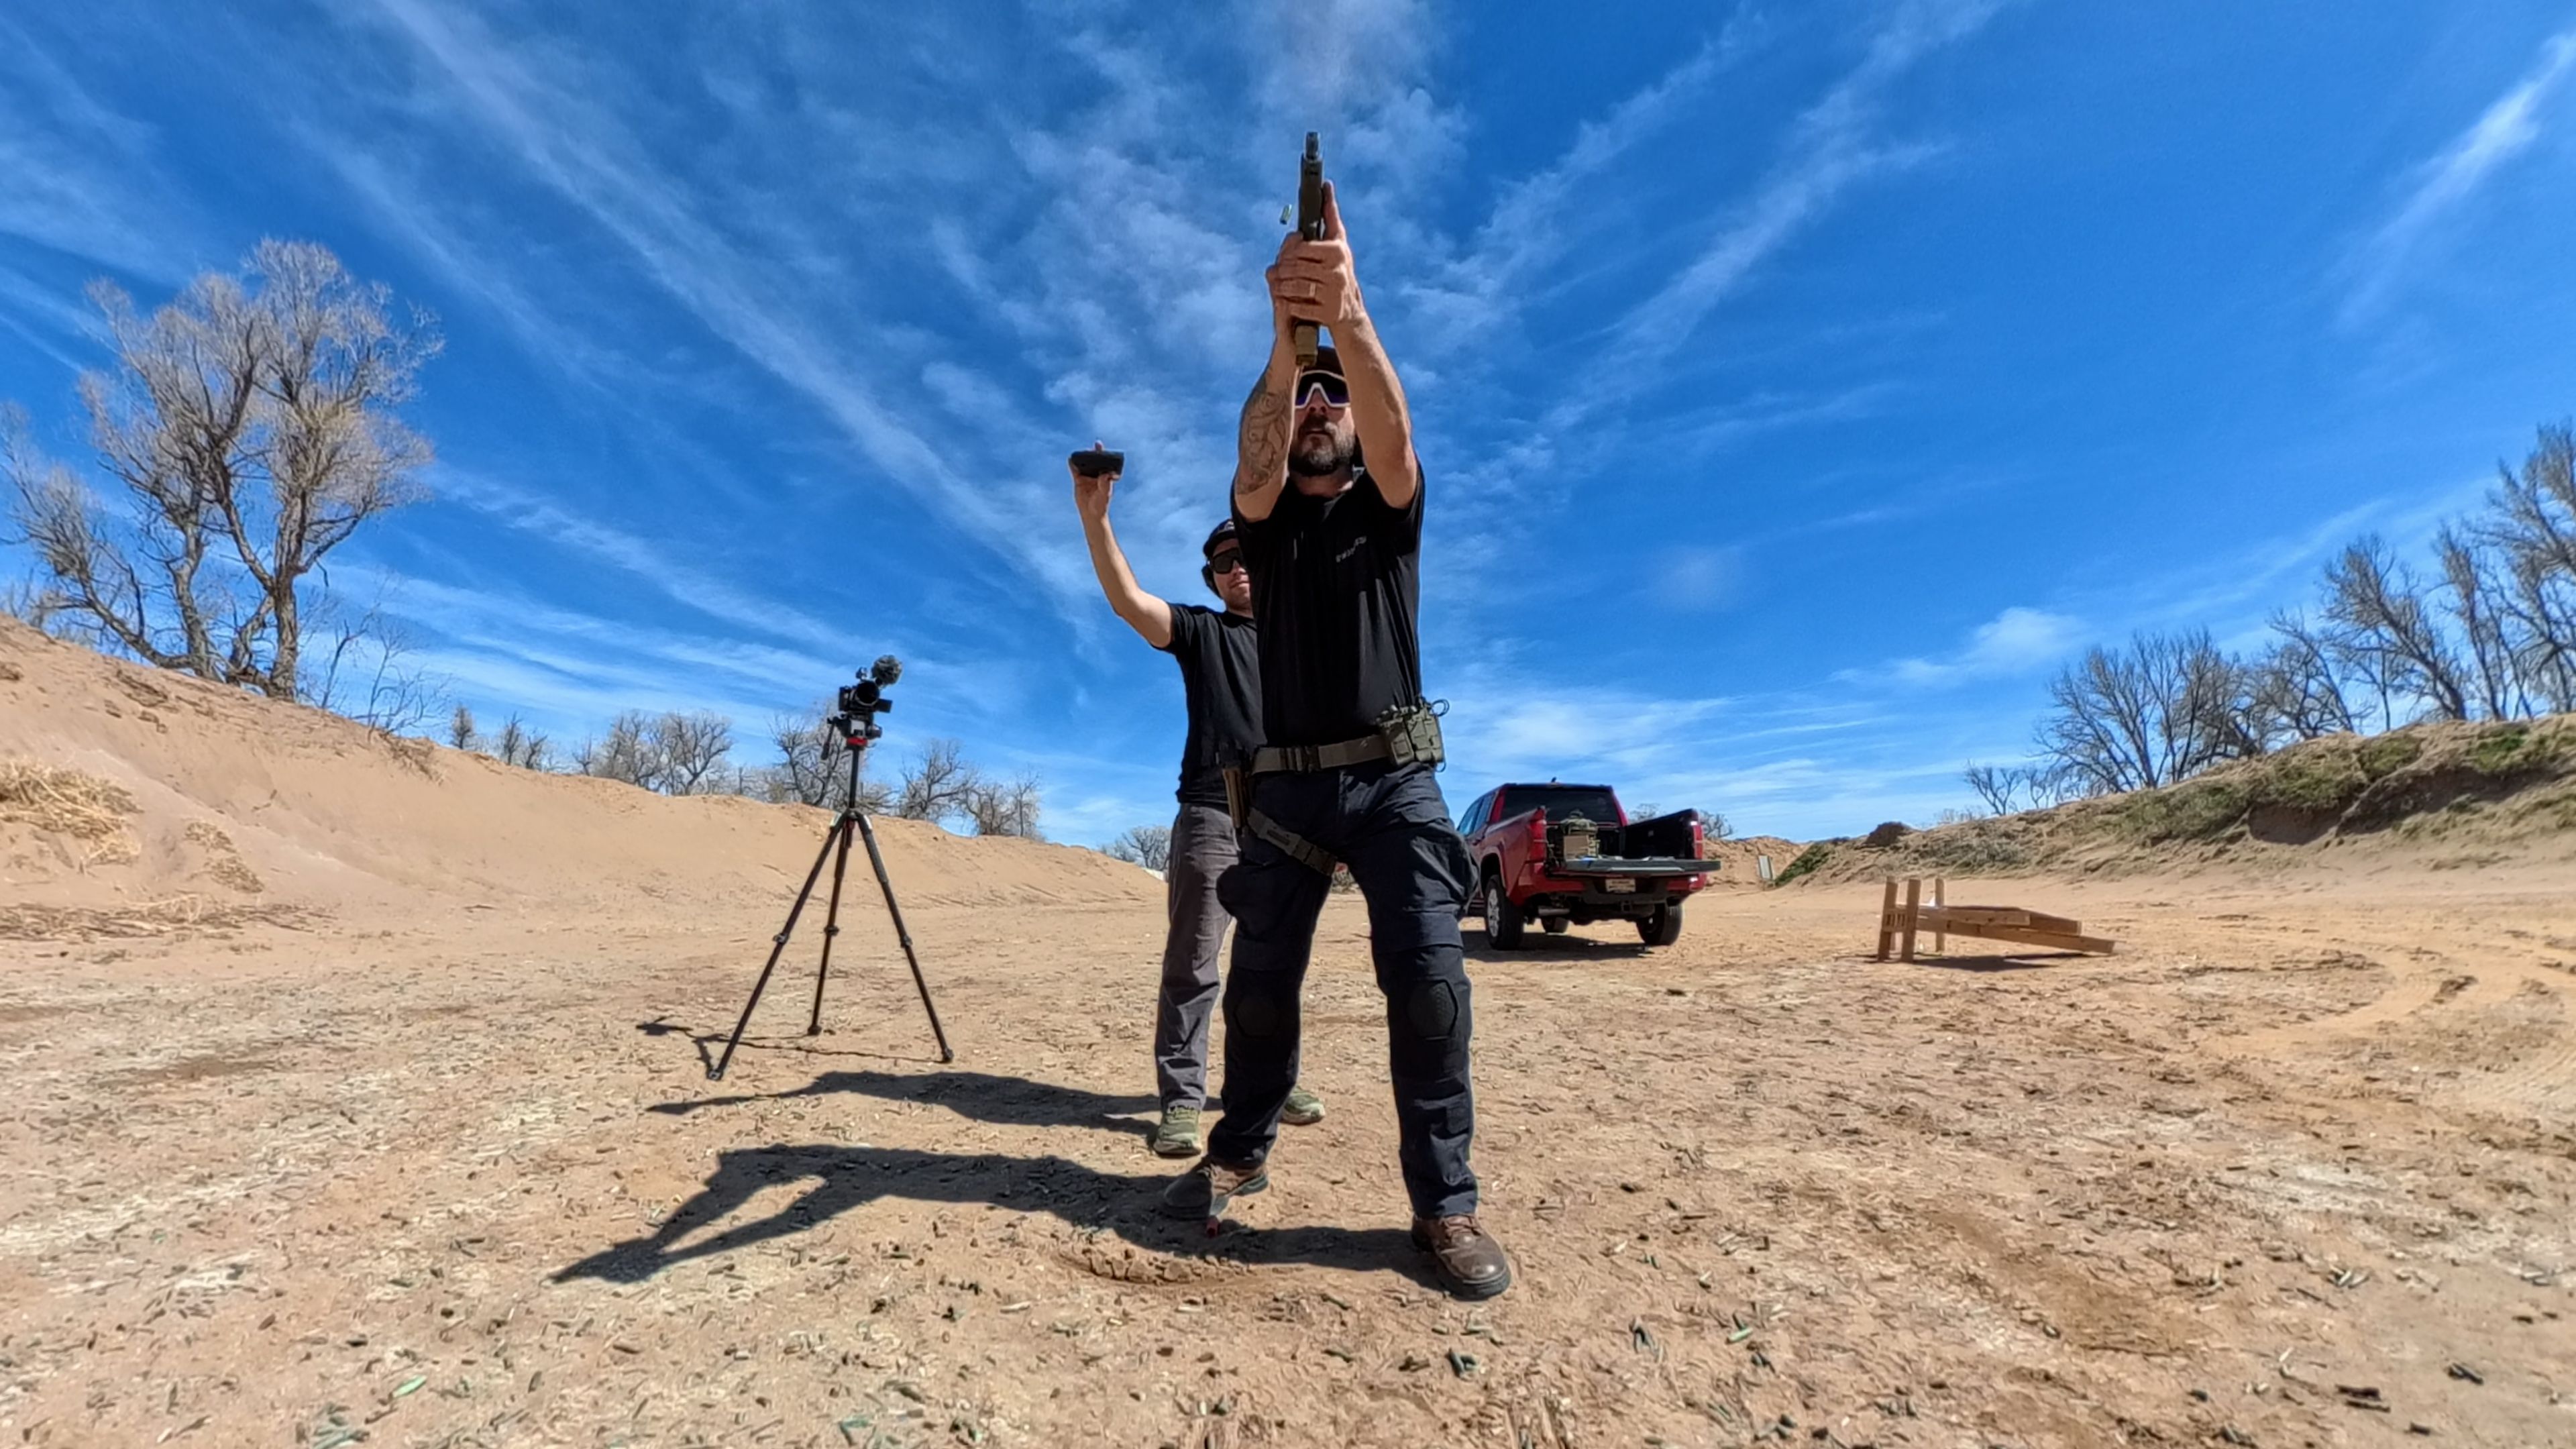
We ran five of them on camera for the Swampfox YouTube channel. Here is how each one works, what it tests, and the numbers you should be chasing.
Drill 1: Dot Torture
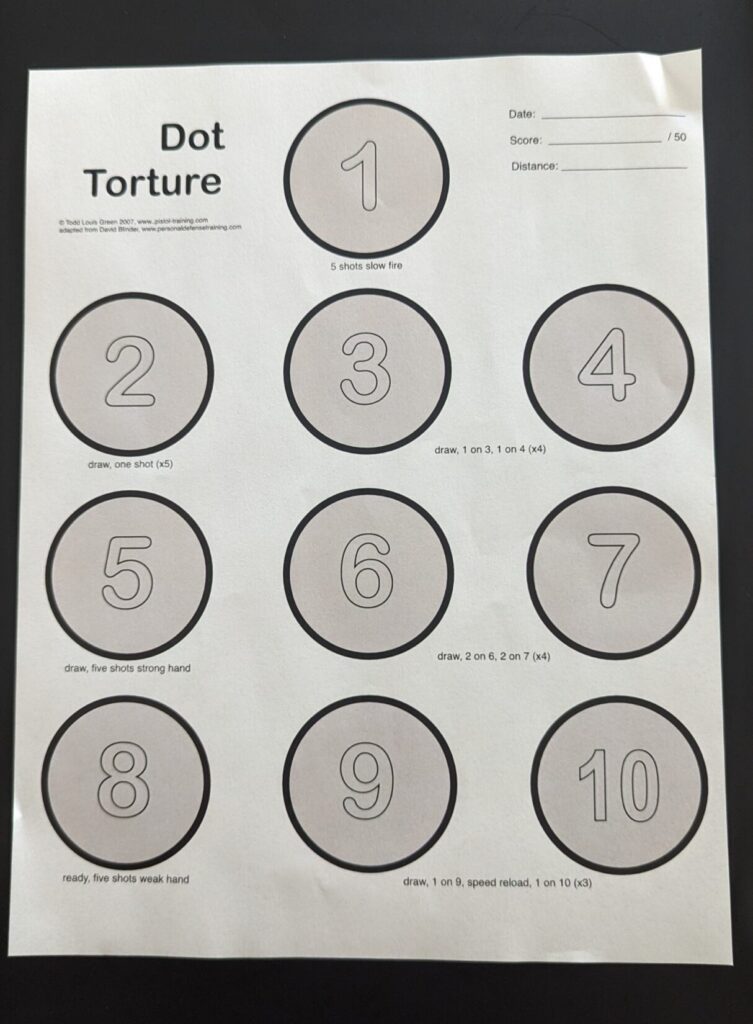
Distance: 3–5 yards | Target: Dot Torture target (free, printable) | Scored out of 50 | No par time
The name is not an accident. Dot Torture is 50 rounds at 10 numbered two-inch circles, each with different instructions. No timer. No pressure. Just you, your trigger, and the humbling reality of how small a two-inch circle actually is when you stop spraying and start paying attention.
The sequence:
- Dot 1: Five rounds slow fire
- Dot 2: Draw and fire one round, repeated five times
- Dots 3–4: Draw, fire one on Dot 3, transition to Dot 4, four repetitions
- Dot 5: Five rounds strong hand only
- Dots 6–7: Two rounds each, transition between, four repetitions
- Dot 8: Five rounds support hand only
- Dots 9–10: Draw, fire one on Dot 9, reload, fire one on Dot 10, three repetitions
It covers slow fire, draw from holster, target transitions, strong-hand-only, support-hand-only, and reload under fire — all in one target and 50 rounds. The score is simple: every hit inside a two-inch circle is a point. Every miss is not.
Run this as a cold drill — the first thing you do when you get to the range, before any warmup rounds. If you carry every day, you are not going to get a warmup before you need the gun. A 47/50 cold is a solid benchmark. Anything below 40 tells you something specific needs work.
The targets are free and printable. We will drop a link in the video description.
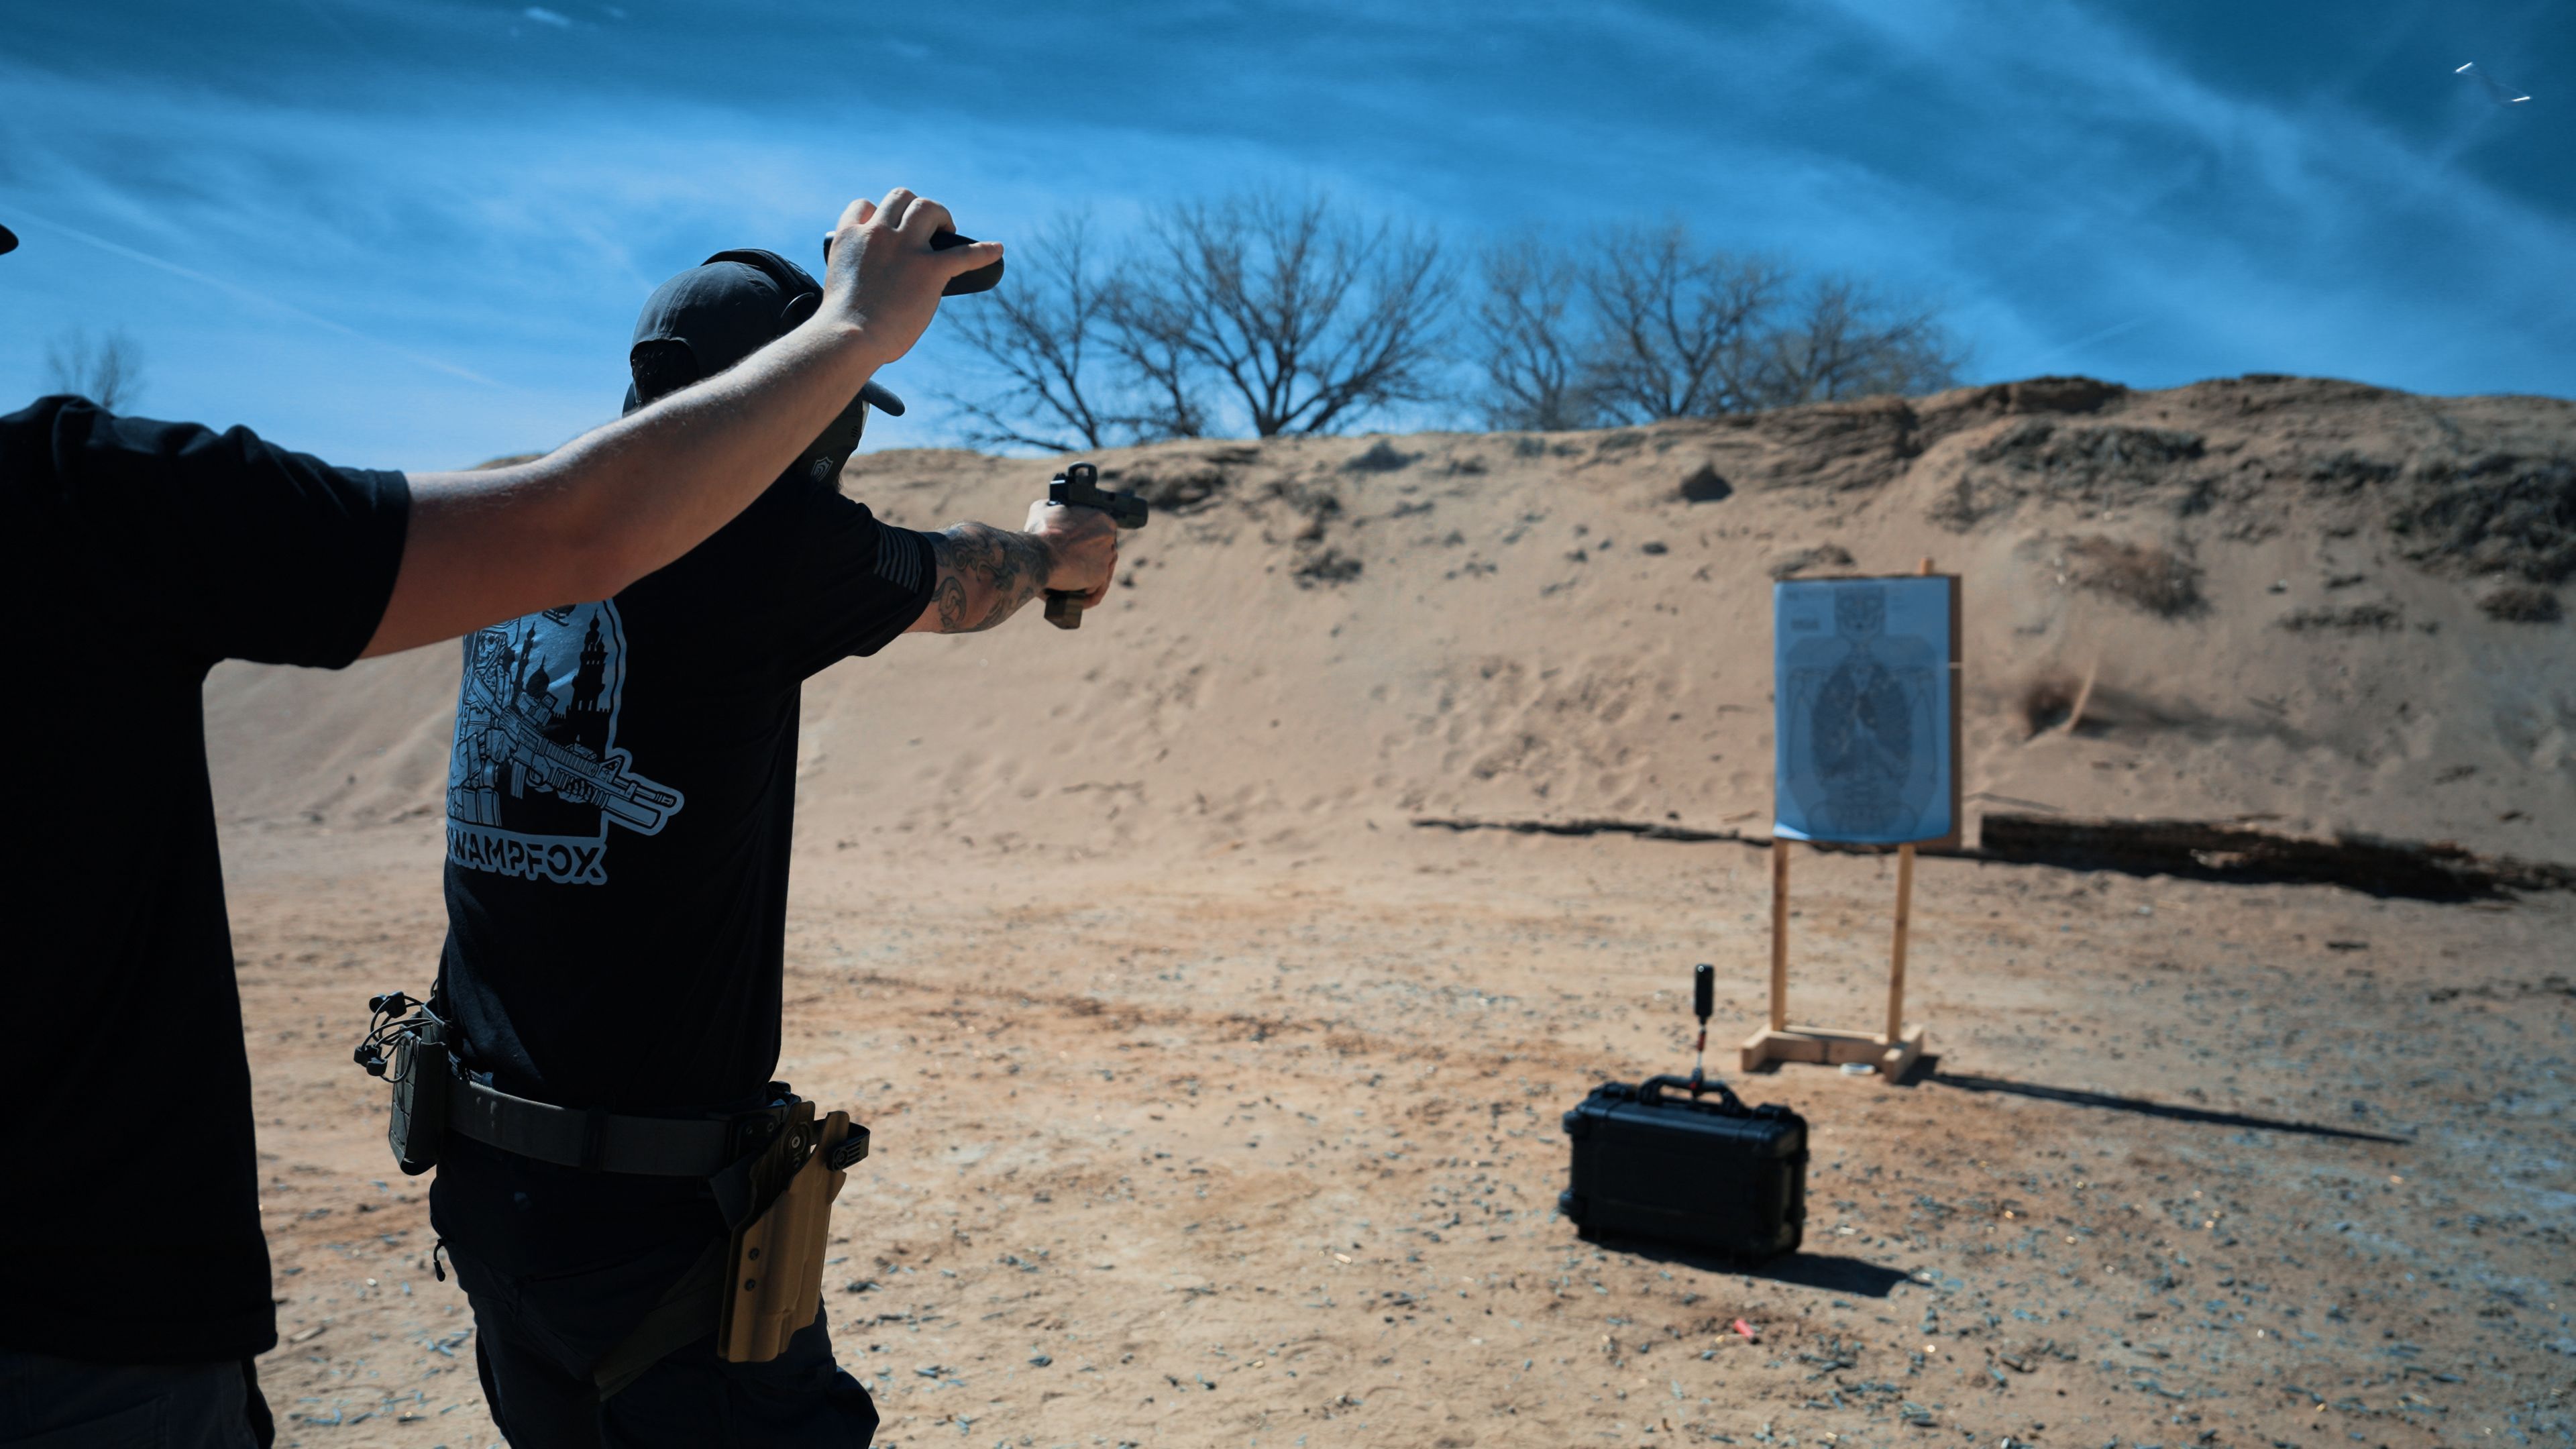
Drill 2: The Mozambique (Failure to Stop)
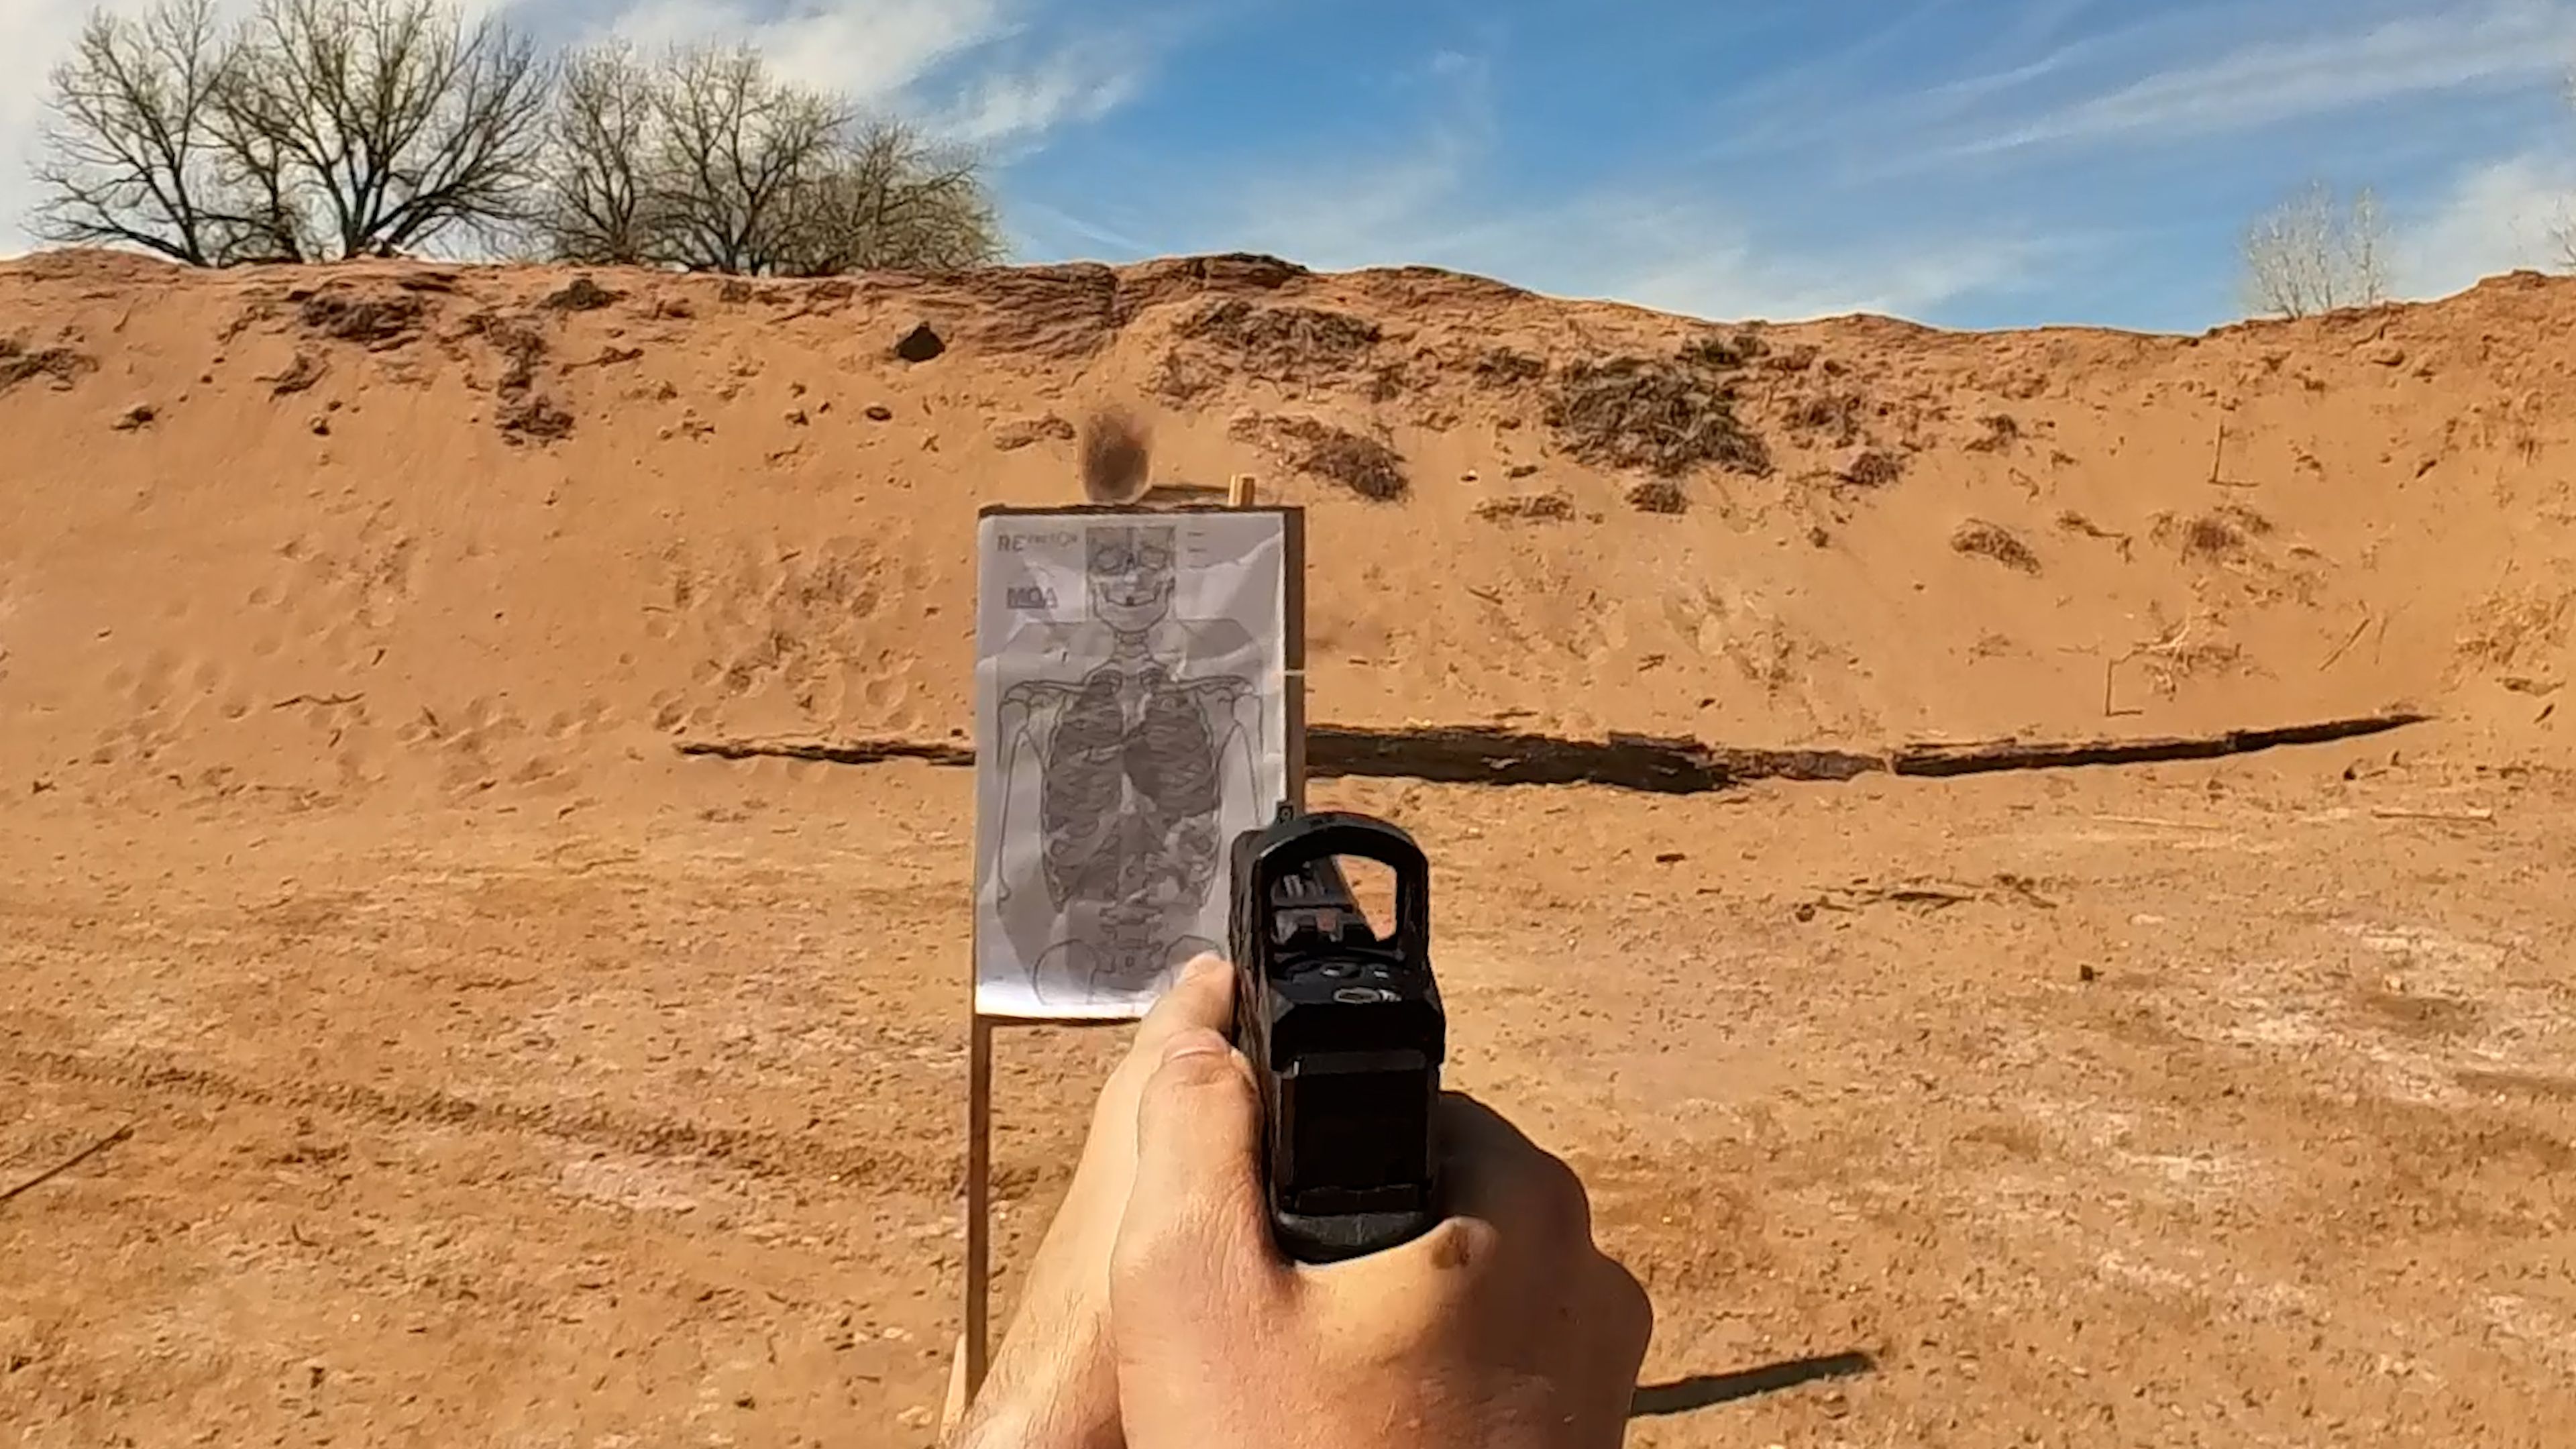
Distance: 7 yards | Par time: 2.5 seconds from the draw | Target: IPSC/USPSA silhouette
Two to the body, one to the head. That is the whole drill. What makes it hard is the head shot.
The idea comes from a contact in the Rhodesian Bush War in 1969. A soldier named Mike Rousseau shot a ZIPRA guerrilla twice in the chest with a 9mm, the attacker kept coming, and Rousseau — out of options and nearly out of time — delivered a single shot to the head. When he told Jeff Cooper about it afterward, Cooper formalized it into a training doctrine.
The drill tests the thing most people practice least: the transition from a high-volume body shot sequence to a single precise headshot, under time pressure, after recoil has already disrupted your sight picture. The “credit card” zone in the head is a small target. Making that shot at 2.5 seconds from the draw — including the draw — is not trivial.
Getting under 2.5 seconds clean is the standard. A 2.21 with a miss on the head does not count. A 2.05 with the hit does. Do not negotiate with the par time.
Drill 3: El Presidente
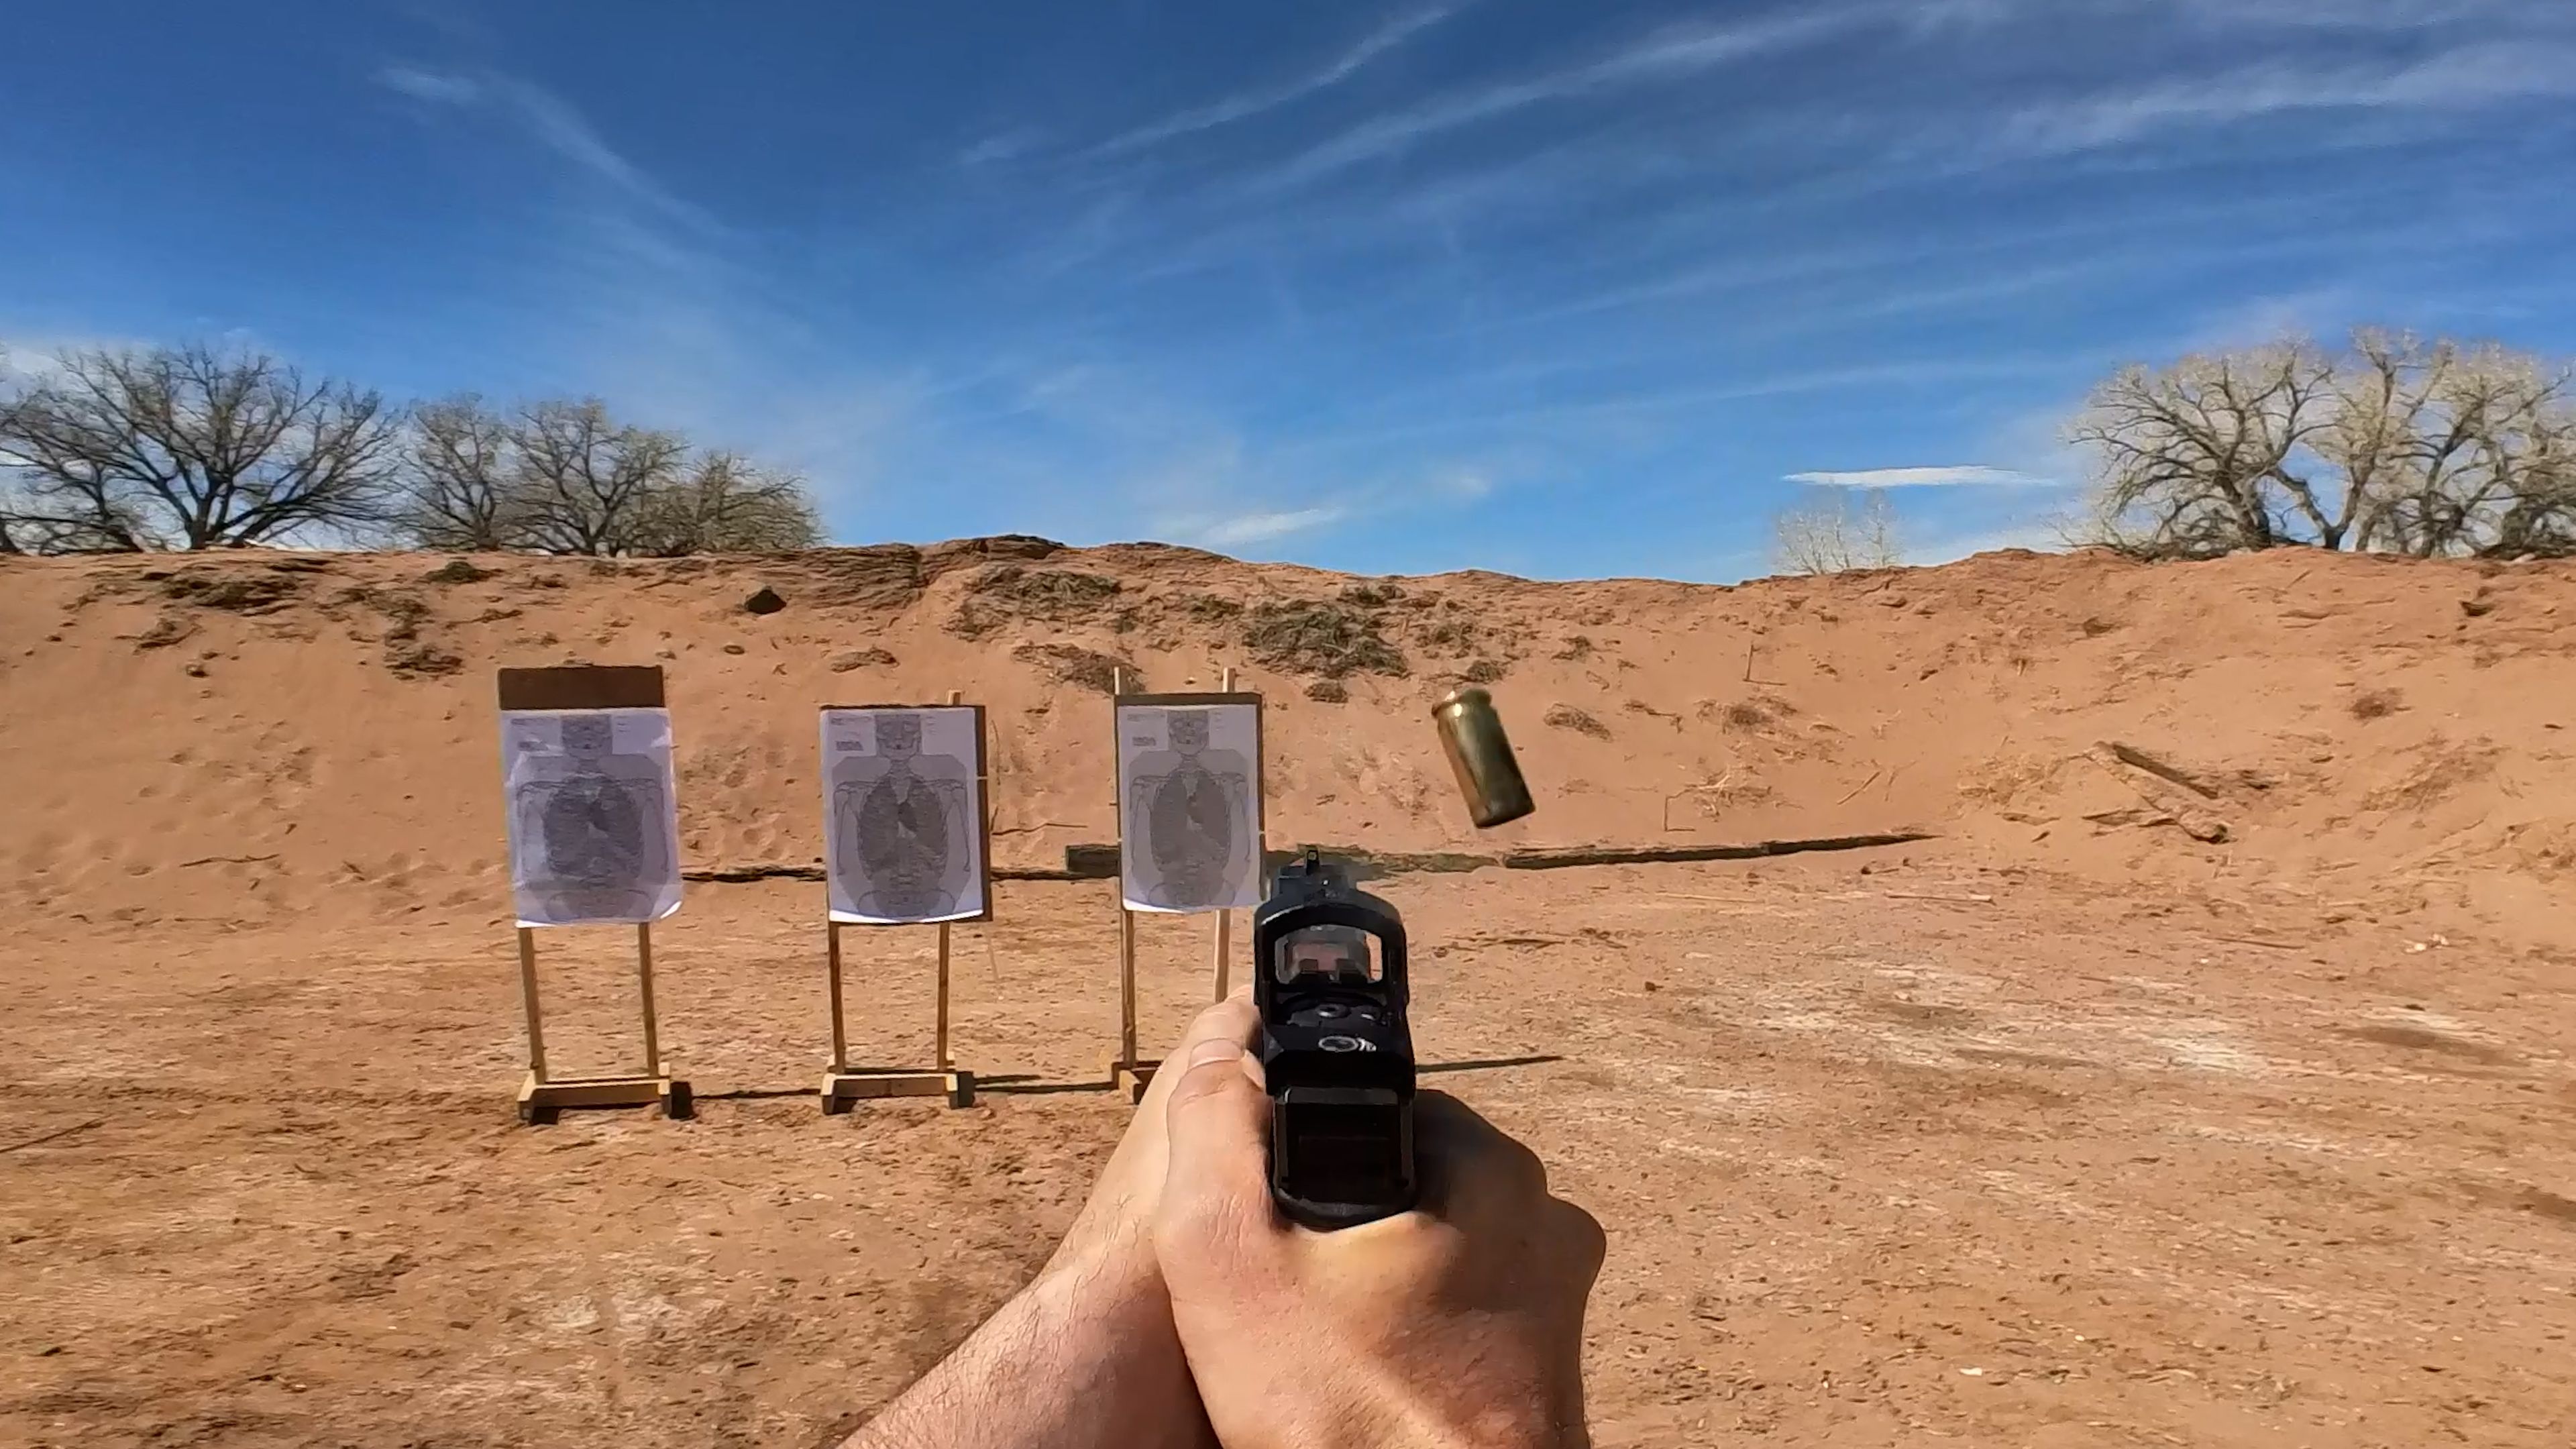
Distance: 10 yards | Par time: 10 seconds (goal: 7 seconds) | Target: 3 IPSC/USPSA silhouettes | Start position: back to targets
El Presidente is the drill that puts everything together. Jeff Cooper developed it in the 1970s and it has been a standard test in practical shooting ever since. You start facing up range with your back to three targets set one meter apart. On the beep, you turn, draw, put two rounds in each target, reload, and put two more in each target.
That is 12 rounds, two on each target split across a mandatory reload, starting from a position where your eyes have to find the targets as you turn. It is testing your draw, your target acquisition, your transitions, your recoil management, and your reload in a single string of fire.
Ten seconds from the draw is the standard par. A clean run is more important than a fast one. Dropping rounds outside the A-zone while chasing the timer is just practicing to miss quickly. Work the clean run first, then push the time. Seven seconds is competitive. Under seven means you are genuinely good at this.
Drill 4: Unkindness
Distance: 5–7 yards | Par time: 4.50 seconds | Target: IPSC/USPSA silhouette with head A-box
This one was developed by the crew at Raven Wing Limited out of California, and the name tells you everything you need to know about how it feels on the clock.
The sequence: draw, two rounds to the body, two rounds to the head A-box (the credit card), reload, two more to the head, two more to the body. It is essentially a mirror image of itself split by a reload, with the precise shot demanded in the middle of the string and again immediately after the reload.
The par time is 4.50 seconds. That is tight. Expect to fail this one a few times before a clean run shows up. A 7.35 clean is still meaningful practice. The point is not to immediately beat the par. The point is to run a drill that will still be challenging after you beat the par.
Drill 5: The Half and Half
Distances: 20 yards / 10 yards / 5 yards | Target: IPSC/USPSA silhouette A-box | Three strings of fire
The Half and Half is three strings of fire at three distances, each with a different time constraint. The common thread is 10 rounds per string.
- 20 yards: 10 rounds into the A-box, 10 seconds
- 10 yards: 10 rounds into the A-box, 5 seconds
- 5 yards: 10 rounds into the A-box, 2.5 seconds
The drill teaches you to calibrate your pace to your distance. At 20 yards, rushing through your available 10 seconds and getting sloppy hits you could have placed cleanly is a failed run even if you beat the clock. At five yards, you are doing nothing but burning through rounds as fast as the gun cycles. Two and a half seconds for 10 rounds is a round every quarter second.
This drill also exposes an interesting psychological pattern. Shooters often do better at five yards than at 20 because they stop overthinking and just shoot. That same mentality at distance produces misses. At 10 yards, you need both speed and patience at the same time — which is exactly why 10 yards is where most defensive shooting actually happens.
Running These Drills the Right Way

Write your scores down. This sounds obvious and almost nobody does it. Without a log, you are comparing today’s run to a memory, and memory is a terrible baseline. A simple notes app, a range journal, a sticky note on your range bag. Whatever keeps the numbers.
Pick one drill per session to focus on. Running all five in one trip is a lot of rounds and a lot of cognitive load. Better to run Dot Torture and El Presidente well than to blow through all five tired and sloppy.
Run Dot Torture cold every time. Do not let yourself warm up first. The whole point is knowing where you actually are, not where you are after 50 rounds of prep.
If you are carrying a red dot, run these drills with your red dot. The skills are the same but the dot will expose weak points in your presentation that irons let you muscle through. That is a good thing. Find the problem on the range.
Between range sessions, dry fire is how you sharpen the mechanics that show up in these scores — the draw, the presentation, the trigger press. No ammo required, and the reps transfer directly.
Five drills. All documented. All repeatable. All uncomfortable in exactly the right ways. Print out your targets, get to the range, and find out what your shooting actually looks like.
The full video is on the Swampfox YouTube channel.
Related Posts

Red dots are everywhere, but does your pistol really need an optic? We break down the red dot reality with advantages and disadvantages of pistol optics.

Does your red dot look like a starburst? Do you lose your reticle against green foliage? It might not be your optic, it could be your biology. We break down the best solutions for shooters with astigmatism and colorblindness, including breakdowns of which dot color you should use, as well as dot sights vs. prisms.

Thinking about shooting your first match but intimidated by the rulebook? We remove the guesswork by breaking down the major USPSA divisions. Whether you are running a stock daily driver or a race-ready 2011, there is a division for you.

A Colorado company, born on the 4th of July, 2018
Helpful Links
Join the Revolution
Join our e-mail newsletter for giveaways, hot deals, and Swampfox news.
©2026 Swampfox Optics. All rights reserved.
Designed and powered by WebriQ.