There’s a big difference between a rifle that simply works and a rifle you genuinely trust. A trusted setup feels like an extension of you: it mounts naturally, tracks smoothly, and lets you focus on the shot instead of your gear. Whether you’re getting ready for a match, a class, or just a weekend range session, taking the time to intentionally build and refine your setup pays off every time you press the trigger.
In this post, we’ll walk through the core elements of a solid rifle configuration, highlight small details that make a huge difference, and show a few examples of how your gear can come together in a clean, functional way.
Start With a Clear Purpose
Before you start swapping parts or adding accessories, ask a simple question: What is this rifle for? A competition rifle, a home-defense carbine, and a general-purpose training setup all place slightly different demands on your optics, mounts, sling, and even your zero distance.
Once you define the mission, decisions get easier. For example, a home-defense focused rifle might prioritize:
- Fast target acquisition at close range
- Simple, intuitive controls that work under stress
- Reliable performance in less-than-ideal lighting
On the other hand, a rifle meant for training and extended range days may lean more toward durability, glass clarity, and flexibility across different distances. Both can use similar gear, but the way you prioritize features will change.
Optics, Mounts, and Your Line of Sight
Your optic and mount combination is the heart of the rifle’s aiming system. It’s not just about picking something that looks good in photos — it’s about creating a sight picture that is fast, repeatable, and comfortable for you.
When dialing in your optic:
- Confirm your height over bore: The optic should sit at a height that lets you get a natural, upright head position instead of hunting for the glass.
- Check eye relief and eye box: You should be able to move naturally behind the rifle and still get a full, clear sight picture without strain.
- Lock in your zero and document it: Record your zero distance, ammo, and conditions. Make it easy to repeat or diagnose changes later.
A clean, balanced rifle setup makes it easier to get consistent, repeatable performance at the range.
Managing Weight, Balance, and Controls
As you add lights, bipods, slings, and other accessories, it’s easy for a rifle to start feeling front-heavy or cluttered. Every part you bolt on should earn its place. When in doubt, keep it simple and prioritize how the rifle handles.
Pay attention to:
- Balance: The rifle should not feel like it wants to tip forward when you mount it quickly from low ready.
- Controls: Safety, charging handle, and mag release should all be accessible without breaking your grip or changing your shoulder.
- Sling setup: A properly adjusted sling supports the rifle between reps, instead of fighting you while you move.
Small tweaks — moving a light a few slots back, raising or lowering your optic slightly, or fine-tuning sling length — can make the difference between a rifle that feels “okay” and one that mounts and runs naturally every time.
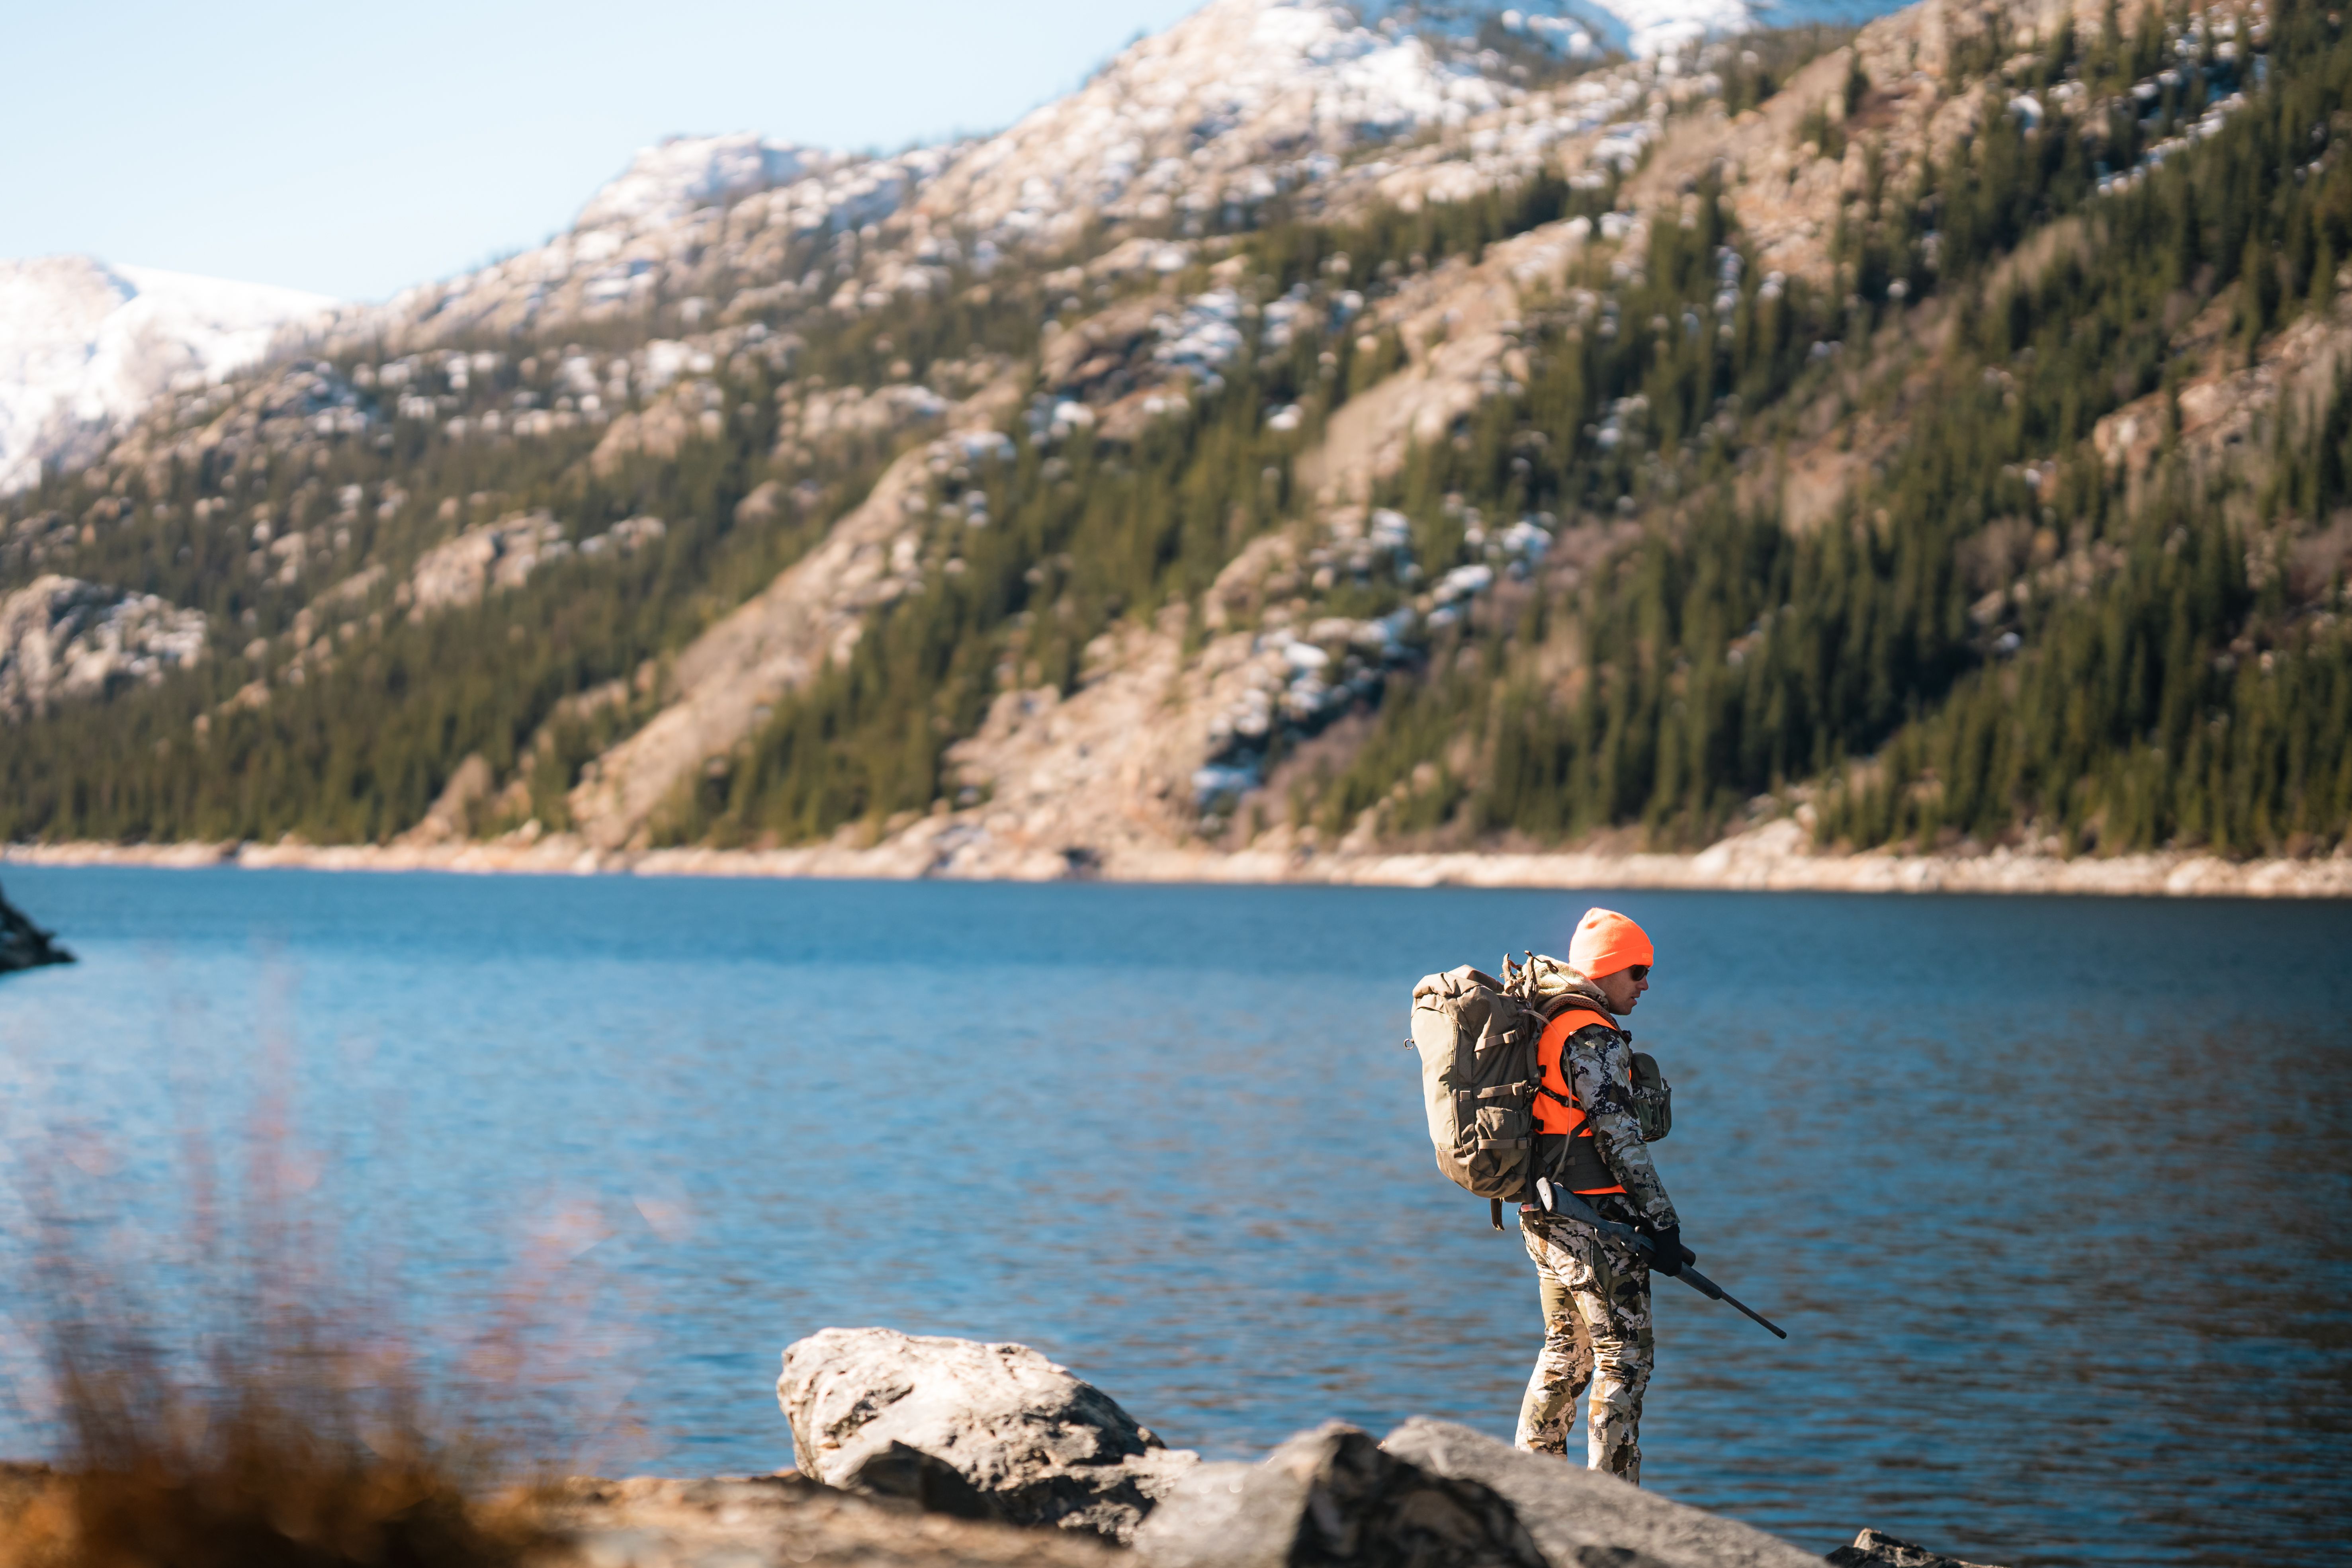
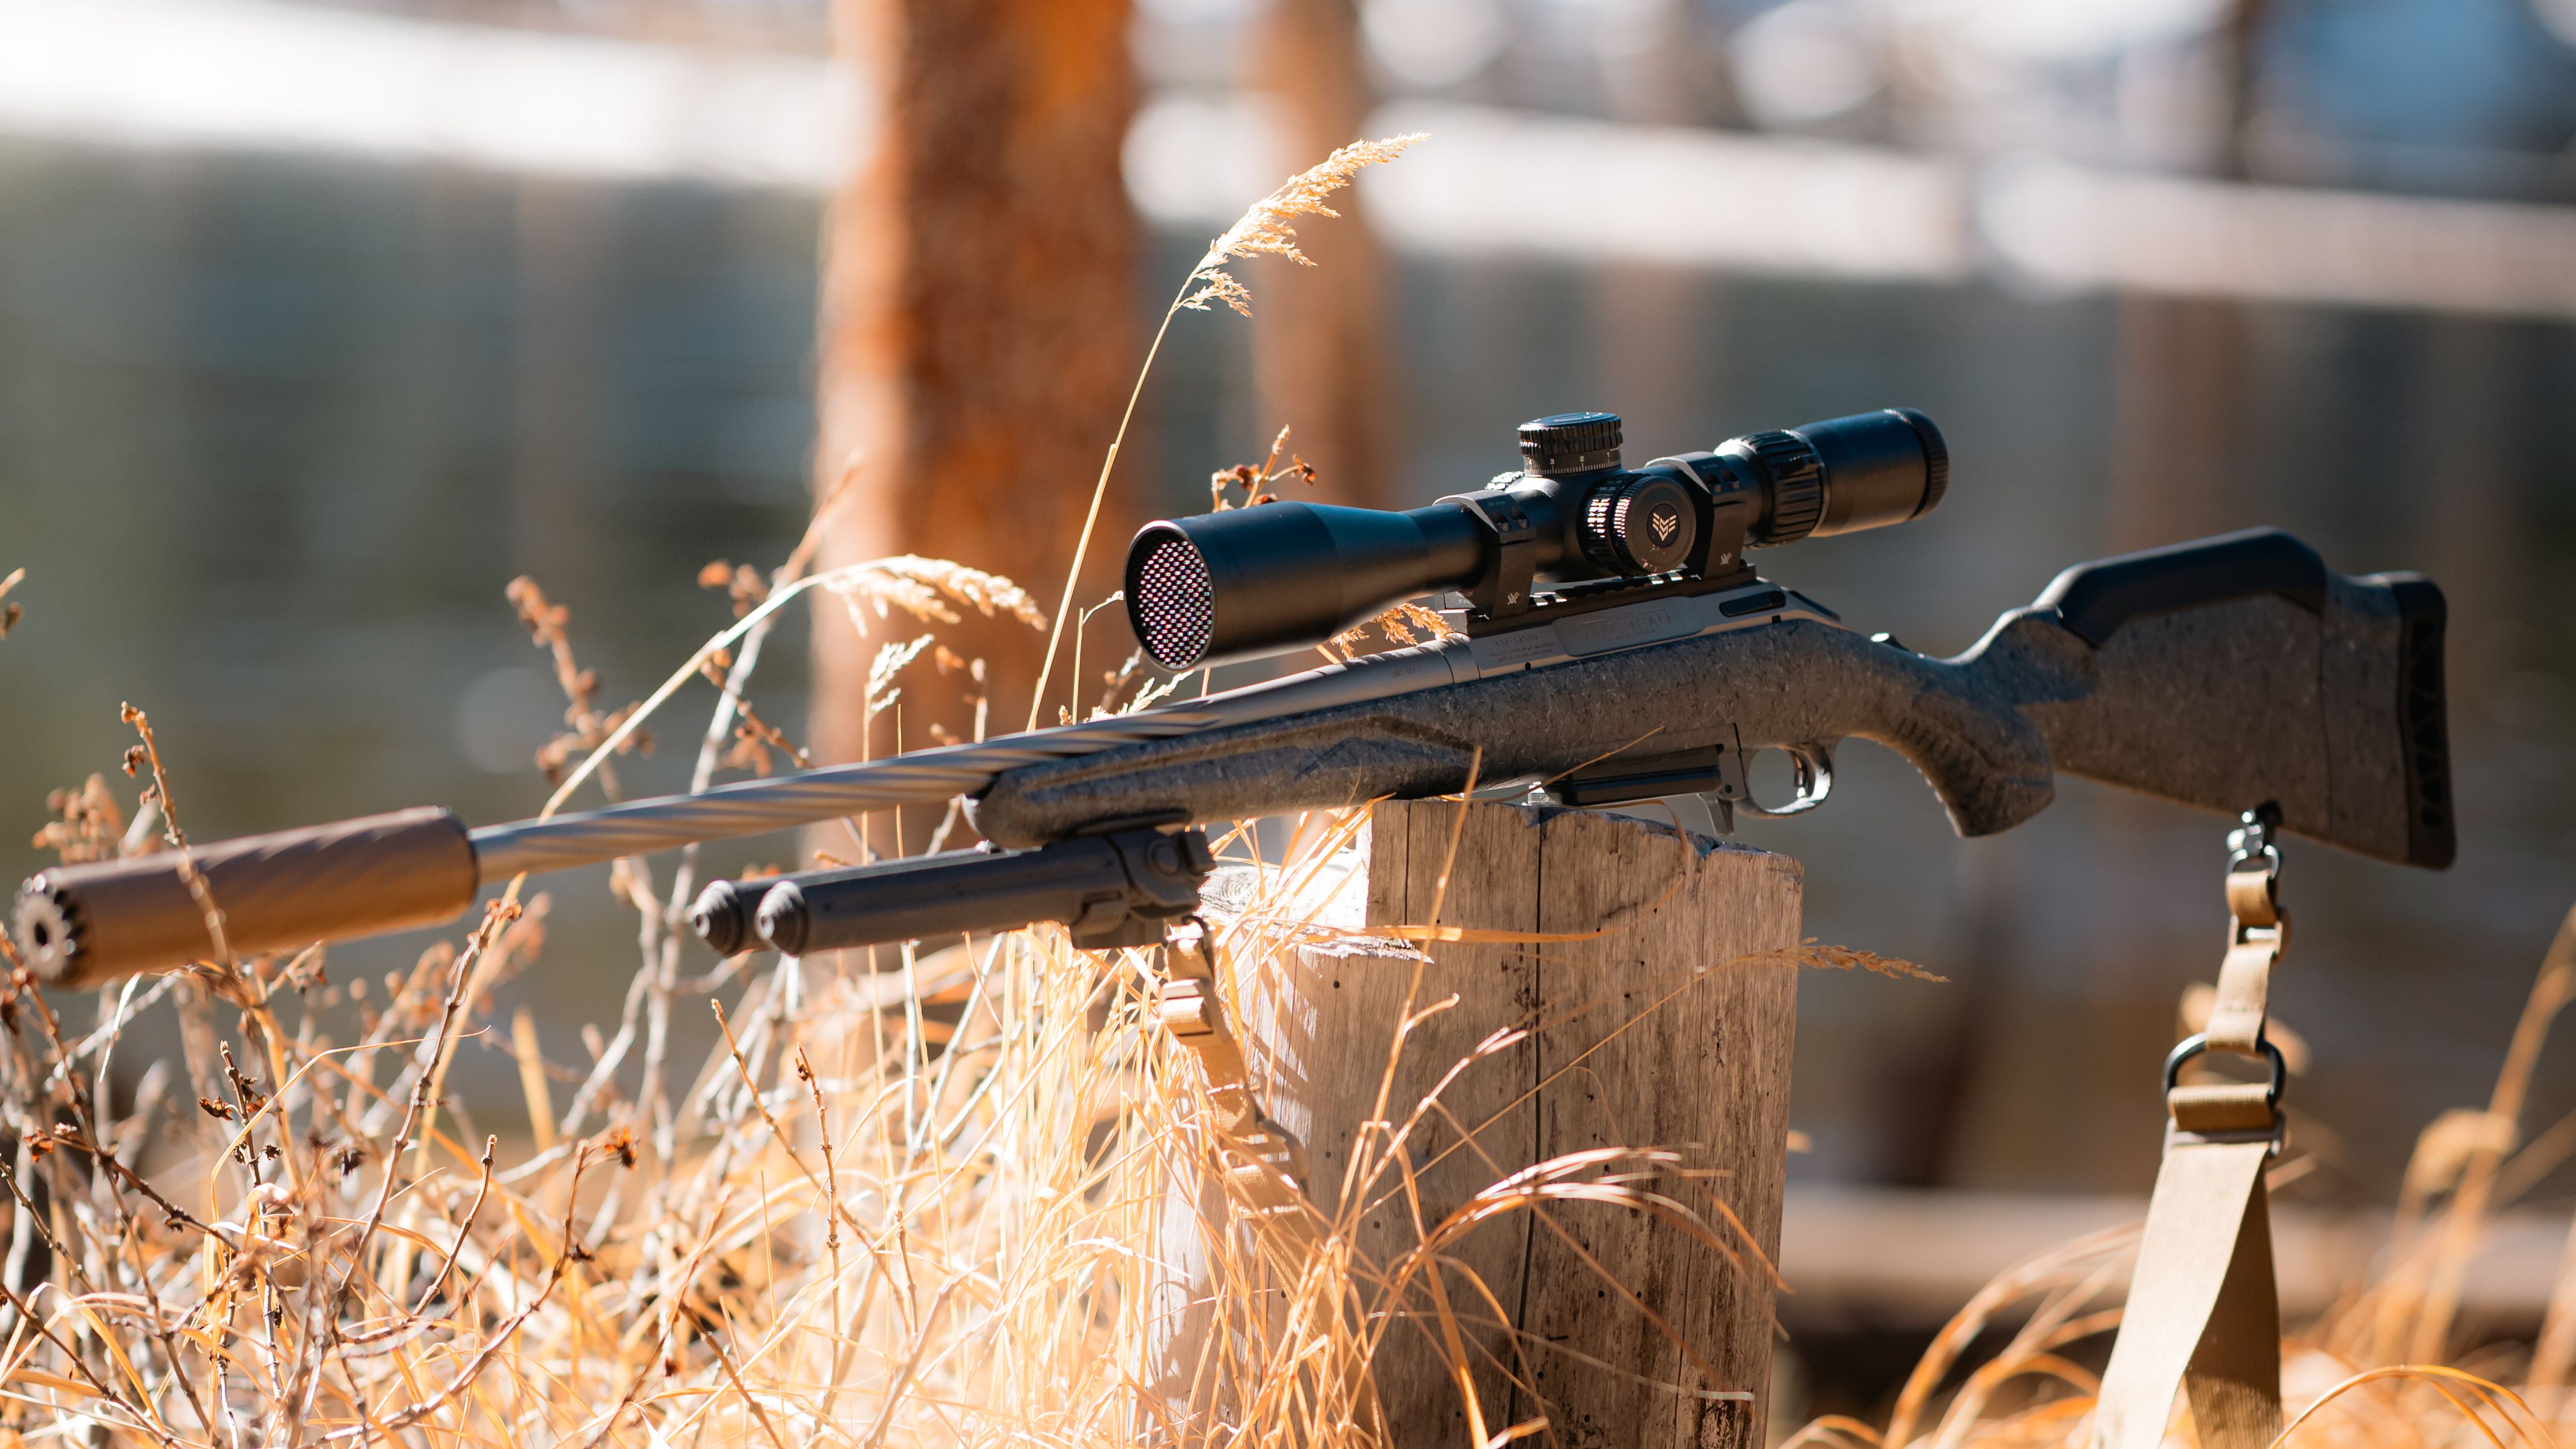
Visualizing Different Setups
Below is a simple visual comparison: two different perspectives using the same core rifle concept. One emphasizes a broader overview of the setup, while the other focuses more tightly on the shooter behind the gun.
Building Confidence Through Reps
No amount of gear can replace time on the range. Once your setup is dialed in, the real work is simply putting rounds downrange with intention. Work from stable positions to confirm zero, then start layering in movement, transitions, and different lighting conditions.
Document what you change and what you learn each time you train. Over a few sessions, you’ll start to see clear patterns: which sling adjustments feel best, which optic settings you naturally prefer, and how your rifle behaves as you push speed and distance.
Final Thoughts
A trusted rifle setup isn’t built overnight. It’s the result of thoughtful choices, honest range time, and a willingness to tweak the small details until everything just clicks. Start with a clear purpose, choose gear that supports that purpose, then go prove it at the range.
When your rifle mounts the same way every time, your optic gives you a clean, immediate sight picture, and your controls work without conscious thought — that’s when your gear finally gets out of the way and lets you focus on what really matters: making the shot.
